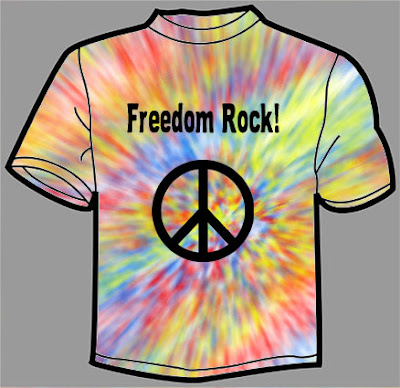
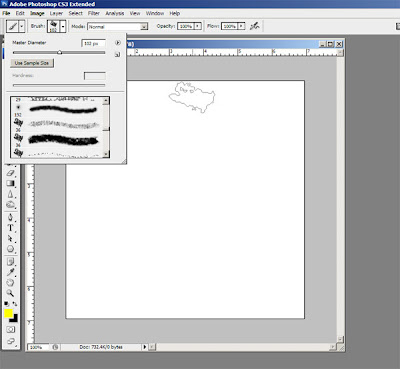
 First, open a new file. whatever size you want, I used 500px x 500 at 72 dpi. Then, with your brush tool selected find an odd shaped brush set to a medium to large size.
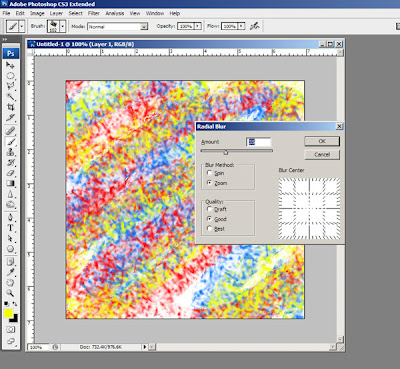
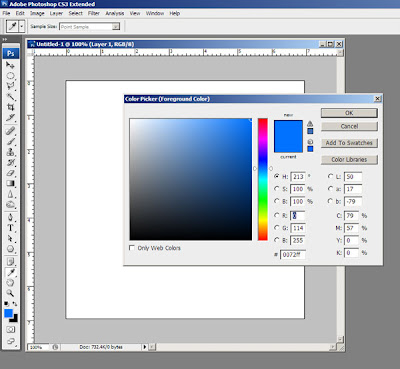 Then just doodle some squiggly lines across the page. I used the primary colors, blue, red and yellow. make sure you get an even covering of the white background, but keep it random.
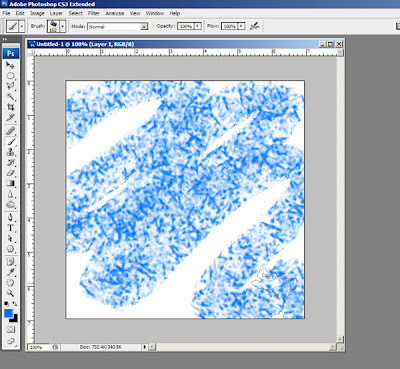
Then choose Blur/Radial Blur from the Filters menu. Choose "zoom" and set it to about 30 to 50 and hit OK.
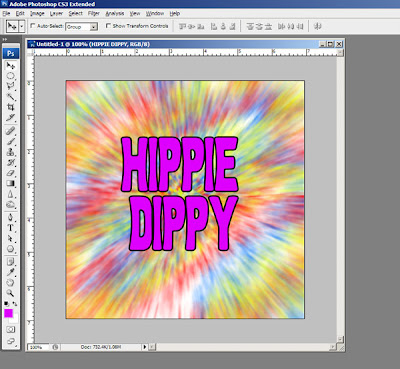 Now you can add a picture or funky text too! Have fun and happy photoshopping!

2 comments:
Cool, thanks!
Can you do a lens flare tutorial next?
Post a Comment